För att komma igång och börja arbeta i Hogia-filer på Storegate direkt från datorns utforskare behöver du följa nedan 3 steg.
Storegate har testats med utvalda Hogiaprodukter. De produkter som testats är:
- Hogia Bokslut
- Hogia Skatt
- Hogia Audit
- Hogia Transaktionsanalys
- Hogia Analys/Beslutsstöd
1. Börja med att installera programmet Storegate Cloud folder.
2. Hämta sedan denna konfigurationsfil och extrahera den.
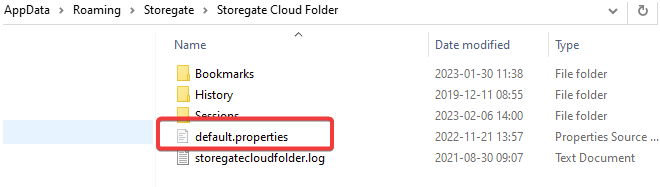
Filen heter default.properties för Hogia/Storegate och skall kopieras till mappen %appdata%\Storegate\Storegate Cloud Folder\ på datorerna som används med Hogiaprodukter.
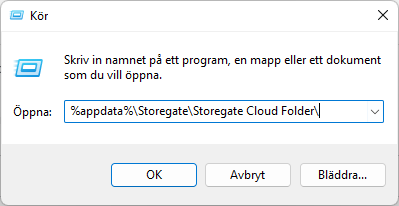
För att öppna mappen använd Kör och klistra in sökvägen, klicka OK.
Kopiera in den extraherade filen i mappen som öppnas. Kontrollera att det ser ut enligt nedan bild. Stäng därefter mappen.
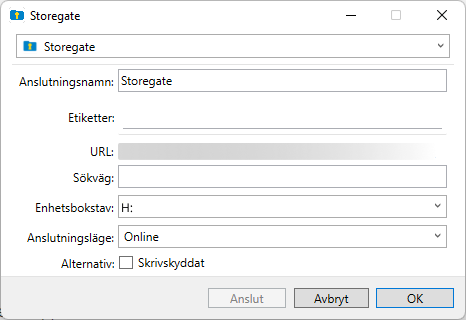
3. Konfigurera Storegate Cloud Folder att använda en fast logisk enhet som är samma hos alla användare, t ex H:
Klicka på programikonen nere vid klockan på din dator, koppla först från anslutningen genom att klicka på knappen ”Koppla från”. Hoovra över anslutningen och välj ”Redigera anslutning”. Ändra i rullistan ”Enhetsbokstav” från ”Auto” till valfri enhetsbokstav, klicka sedan på Anslut och sedan OK.
Konfigurera användarnas sökvägar i Hogias produkter så att det går mot enheten ovan. Starta om datorn.
Vi rekommenderar också att versionshantering är aktiverat på kontot så att det finns möjlighet att gå tillbaka till äldre versioner av filerna om så önskas. Versionhantering aktiveras via kontoinställningarna när man är inloggad via hemsidan.