This guide will help you install the Online Backup application on a new PC or a PC that has had its operating system reinstalled. The guide assumes that you have used Online Backup before.
If you have not used Online Backup before and are installing it for the first time, follow the guide HERE
- Start by downloading Online Backup here: https://se-support.storegate.com/en/downloads/
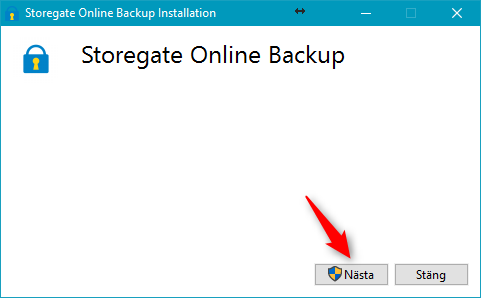
- Start the file you downloaded. The installation will then start
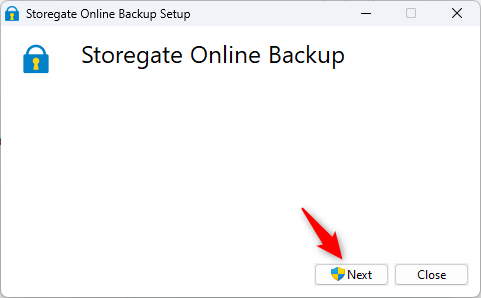
- Press next
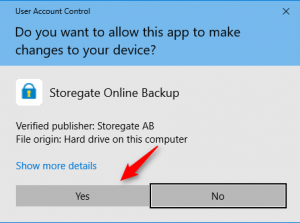
- If you are asked to allow the program to make changes, press approve/yes
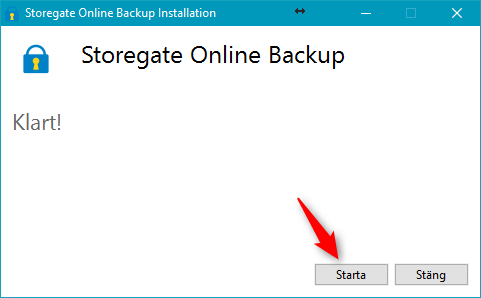
- Press Start
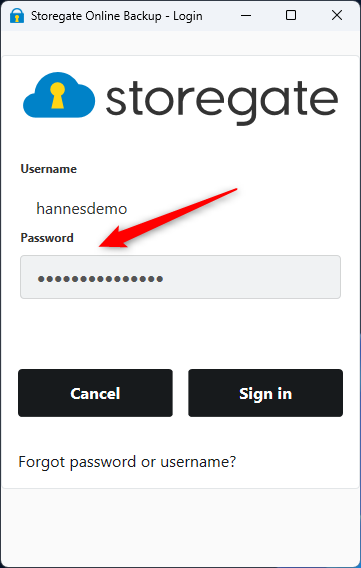
- Enter your username and password and press Log in
- You will now have two options which you can read about below
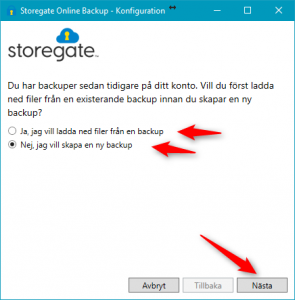


Yes I want to download files from a backup
This option is for those who want to restore data from a backup to their new computer.
Continue on this link if this option suits you
No, I want to create a new backup
This option is for those who want to start a new backup.
This choice requires that you have a free backup license on your account or that you delete an existing license so that you can reuse that license.
Continue below if you want to create a new backup.
- Select No, I want to create a new backup and press next
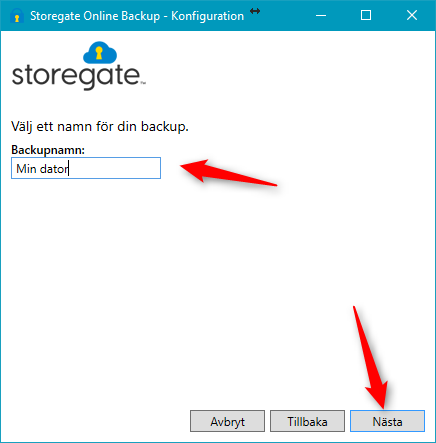
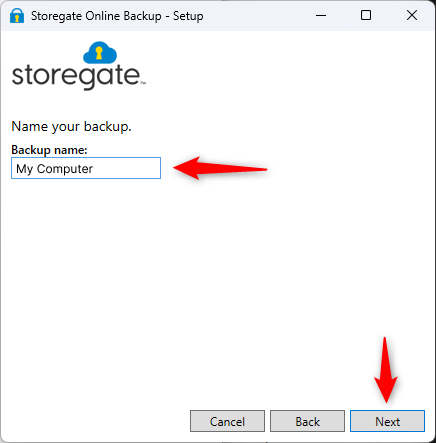
- Type a name for your backup and press next.
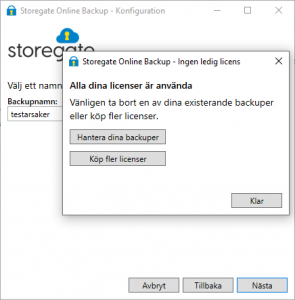
- If you don't have any backup licenses available, you'll get a message where you can choose to buy new licenses or manage the ones you have. If you don't need the backups that use the licenses, you can click on "Manage your backups".
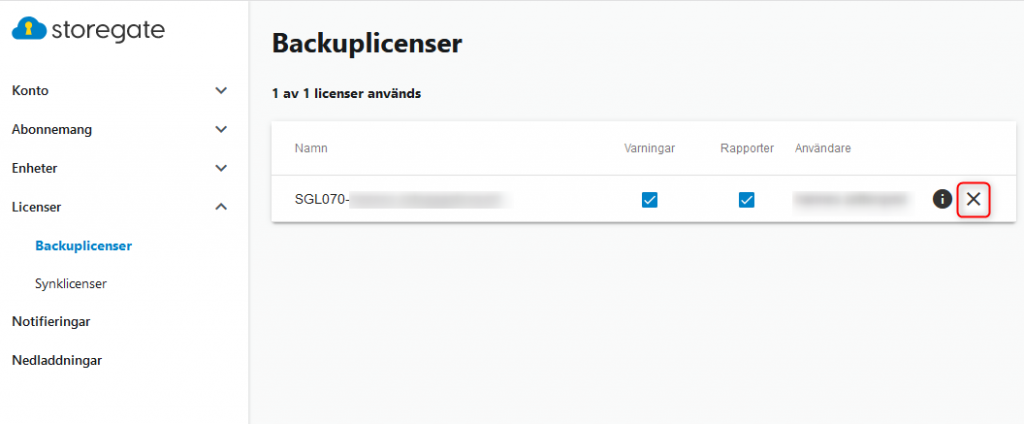
You will now be sent to our website and back-up management. Click on the tick at the far right next to the backup to be deleted and verify.
 Once the backup is deleted, you can create a new backup in the application. Go back to the Online Backup application and click "Next".
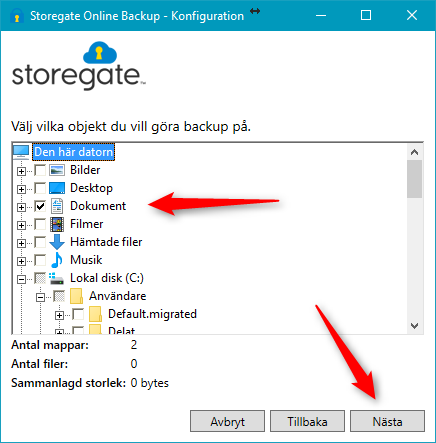
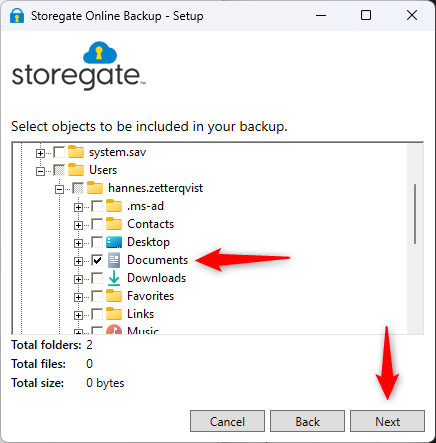
 - Select the files/folders you want to back up. In the example we have selected Documents which means that all subfolders will also be selected.
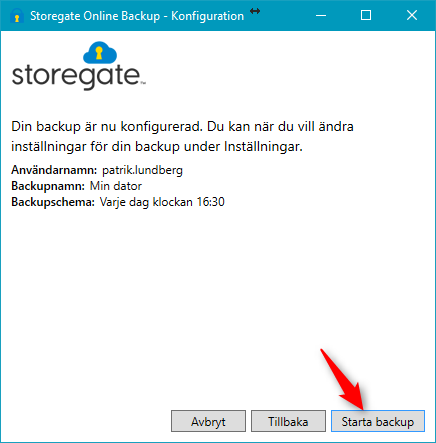
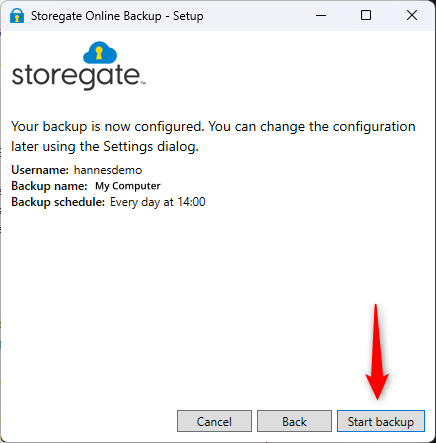
- Press Start Backup. The computer will now work for a while depending on how many files are to be uploaded to the backup.
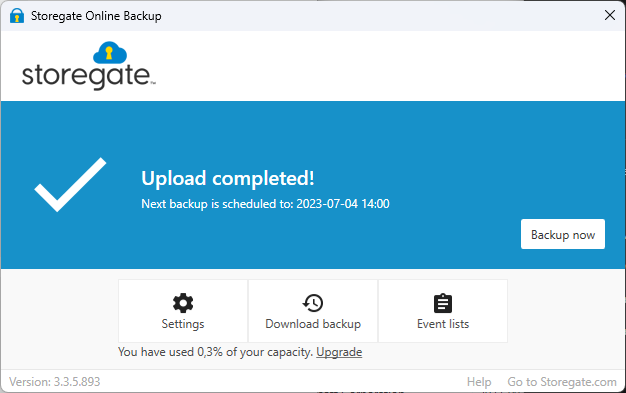
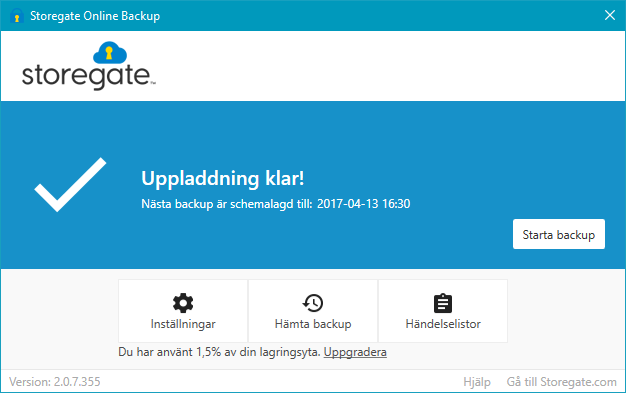
- After a while, the program will say Upload complete! This means that all files are uploaded and everything is working properly. The program will now automatically upload files that change under the folders you previously selected.