This instruction describes how new customers can quickly and easily move their files from their existing file server solution to Storegate Multi. The instruction assumes that you have created a company account via our website www.storegate.se
For help or advice, please contact our support department.
Installing the Cloud Folder software
Before transferring the files to Storegate, the "Storegate Cloud Folder " software needs to be installed on a computer that has access to the files' existing storage.
Here is an instruction on how to install "Storegate Cloud Folder " on PC.
Here is an instruction on how to install "Storegate Cloud Folder " on Mac.
Transferring files to Storegate
Once Cloud Folder is installed on your computer, the storage area is mapped as a network drive in Windows Explorer: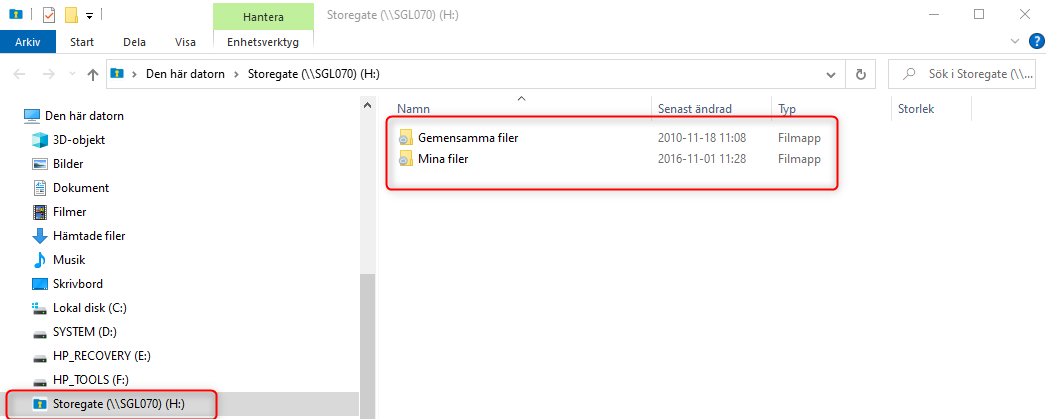
Or in the finders: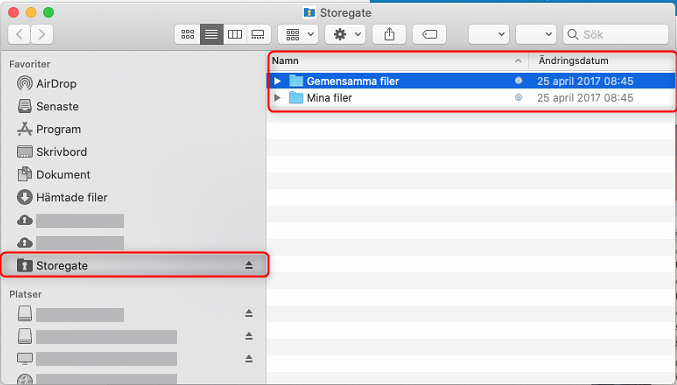
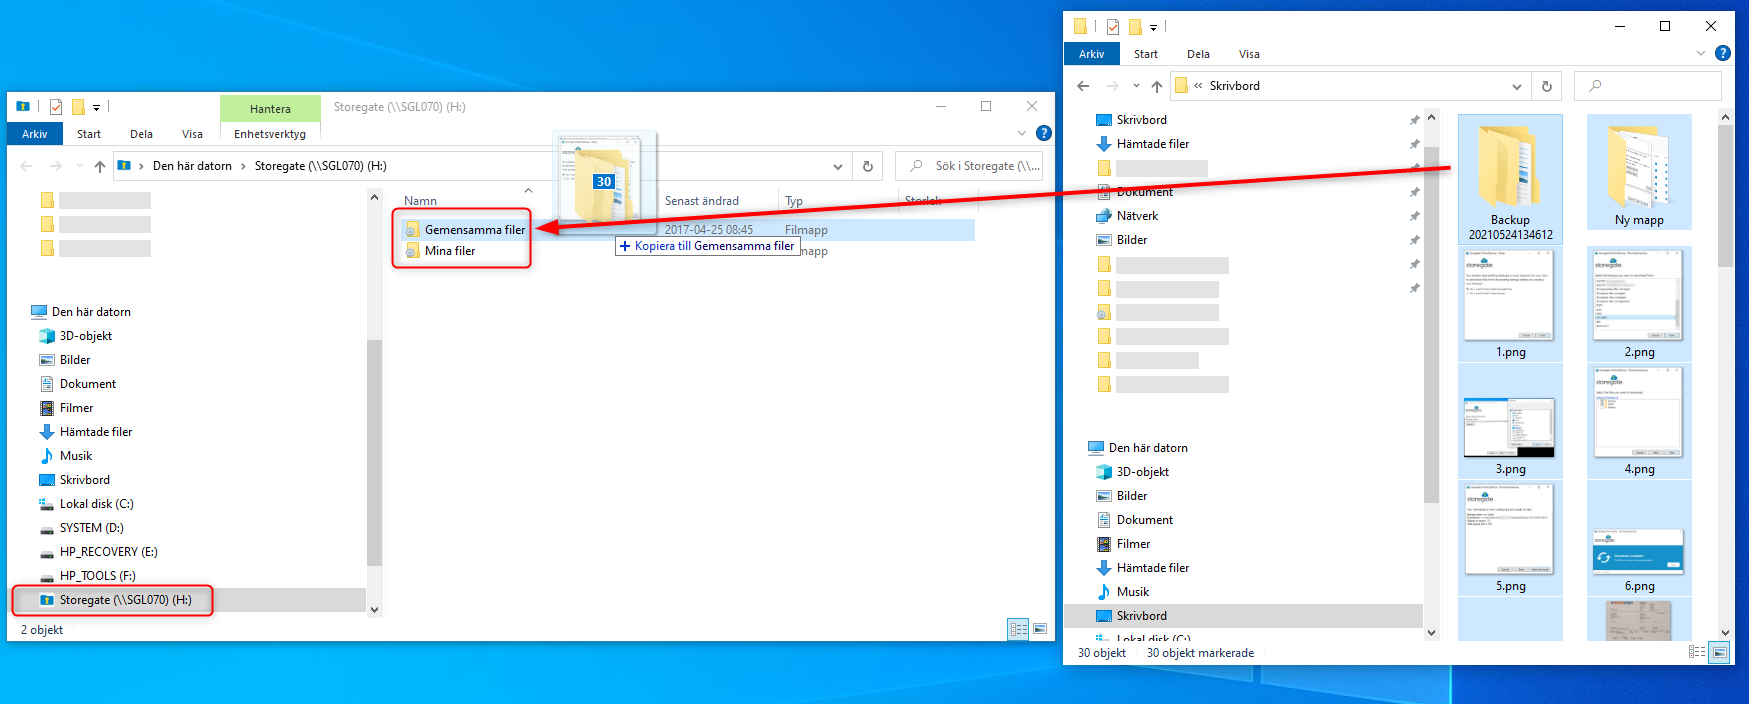
Navigate to the existing location of the files. Select the files and folders to be uploaded, drag and drop the files into the "Shared Files" or "My Files" folder, depending on where the files will be stored. Moving between "Common" and "My Files" can be done afterwards via the web interface.
Note. There is a size limit of 100GB for individual files. Files larger than this will not be uploaded using Cloud Folder.
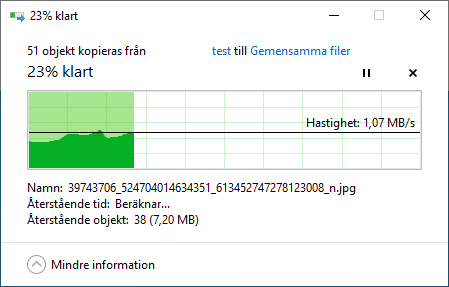
A progress bar is displayed, which then closes automatically when the files are uploaded.

To access the uploaded files in the cloud, click on the Shared/My Files folder in the Cloud Folder, or log on to our website www.storegate.se
Permissions
Once the files are in place in the cloud, the storage account administrator can assign permissions to their users.