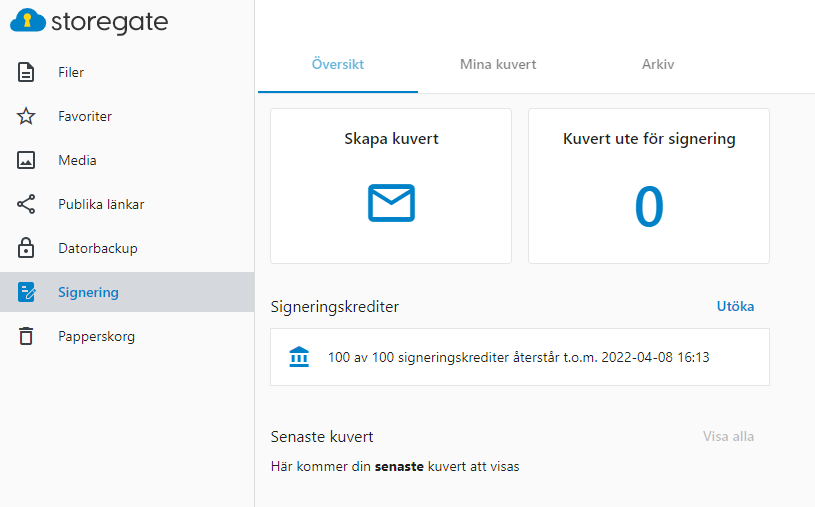
Follow the steps below to create your envelope and send documents for signing. If you have not already activated Storegate Digital Signing, do so by clicking on Signing in the left column when logged in via the web interface or by going to your account settings when logged in via the website. Under Subscriptions -> Price plan, select the desired number of Signing Credits and confirm the change. Now you are ready to start creating envelopes and sending documents for signing.
1. Tap Create envelope.
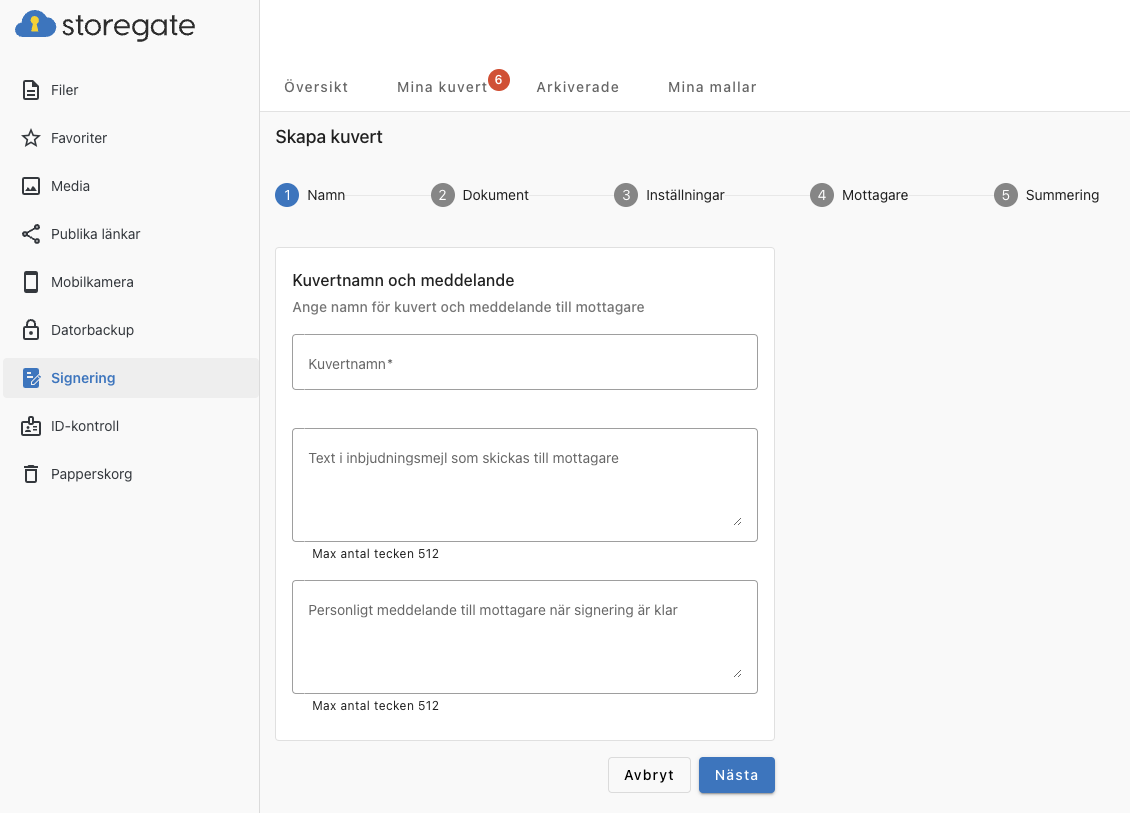
2. Write your name on the envelope. Here you can also write a message to the signatory. You can also write a message that will be displayed when the recipient has signed the envelope. Click on Next.
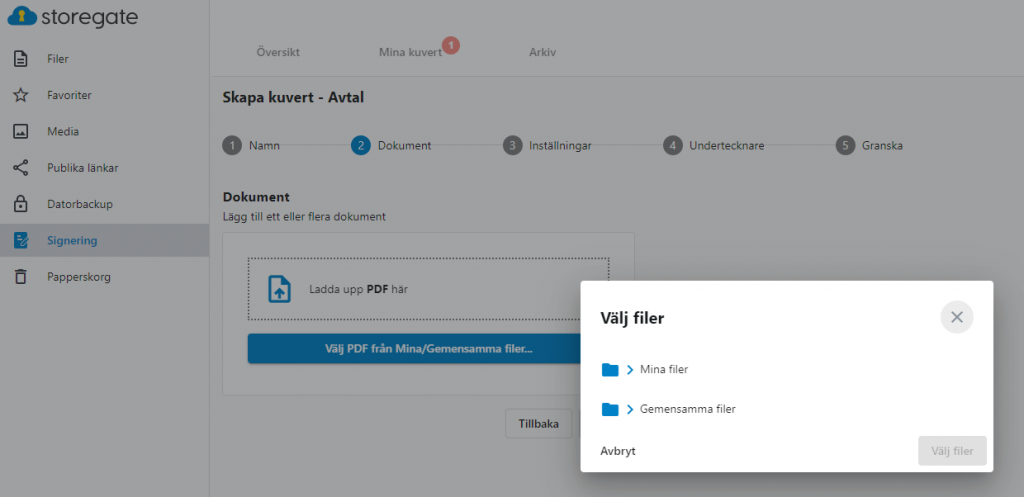
3. Insert one or more documents to be signed. There are several ways to upload documents. You can choose a PDF you have on your Storegate account or upload a file locally from your computer.
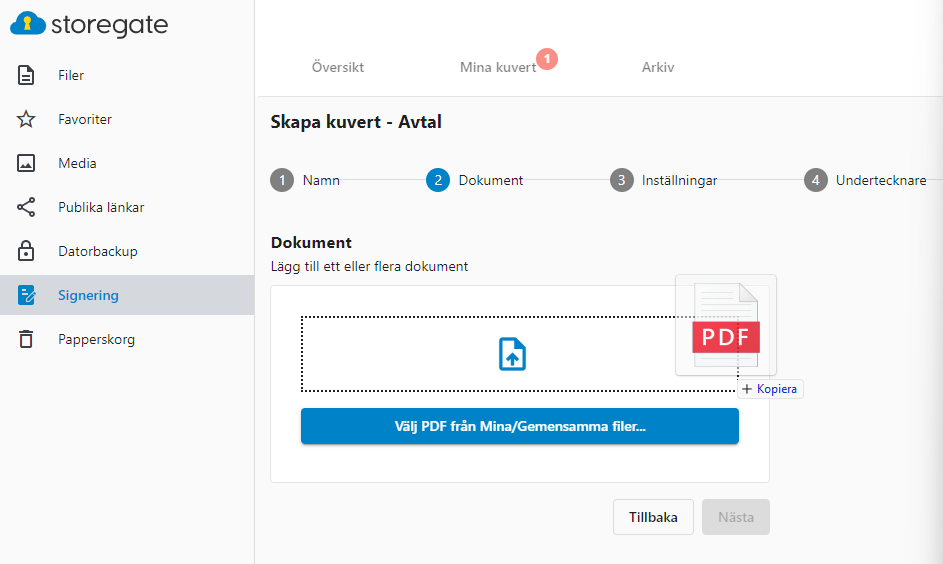
You can also "drag and drop" to upload from the explorer. Once you have selected the file(s) to be signed, click Next.
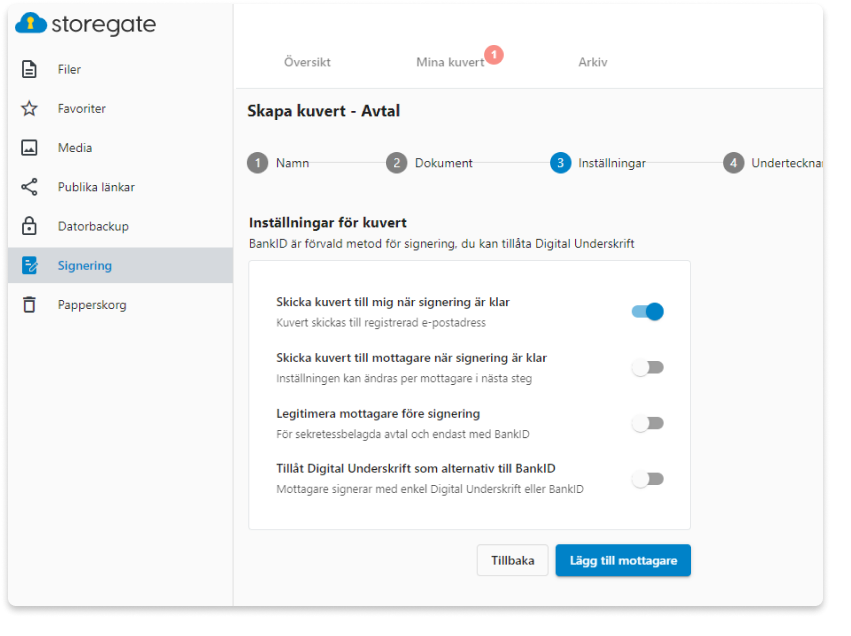
4. Select the desired signature settings. The default option for signing is BankID but you can allow Digital Signature as an alternative to BankID. For Qualified Signature Escrow Agreements (QES), you can force verification and signing with BankID. Here you can also make settings to notify the signatory when the signing is complete.
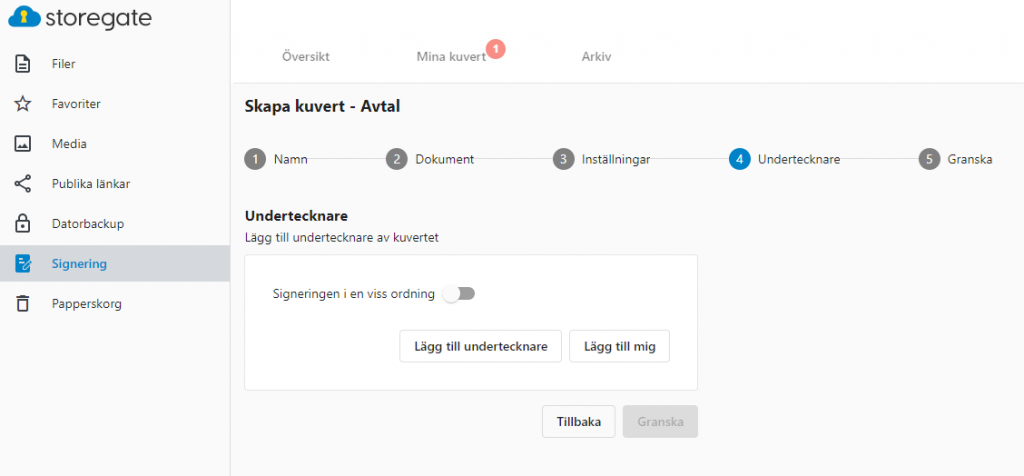
5. In this step you add the signatory of the envelope. You can choose whether the signing should be done in a certain order, which is useful when signing, for example, employment contracts. When all signatories have been added, click on Review to get a summary of the whole envelope.
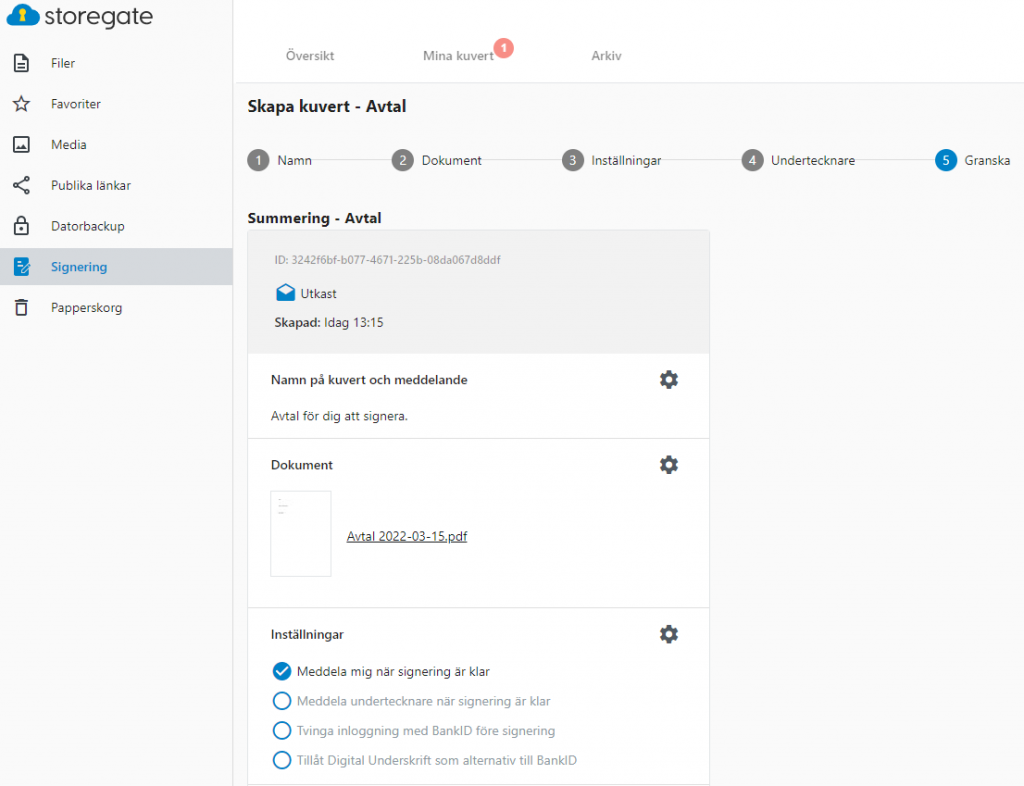
This summarises the entire envelope and the settings you have made. If you need to change something, simply click on the gear next to the box you want to change. At the bottom, enter the date on which the signing ends. Then everything is ready, click "Send now" to send off your envelope. The signatory will then receive an email with your message and a link to complete the signature.