This guide will help you install the Storegate Backup application the first time you start using it.
If you have already used Storegate Backup and are going to install it on a new computer or a reinstalled computer, use the wizard HERE
- Start by downloading Storegate Backup HERE
- Start the file you downloaded. The installation will then start
- Press next

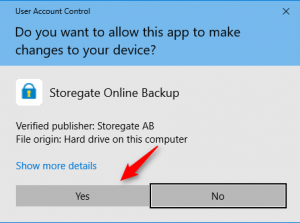
- If you are asked to allow the program to make changes, press approve/yes

- Press Start

- Enter your Visma username and password and press Log in

- Type the name you want to give your backup and press next. In the example we call it My Computer

- Select the files/folders you want to back up. In the example we have selected Documents which means that all subfolders will also be selected. Keep in mind that you should back up your Visma applications to this folder.

- Press Start Backup. The computer will now work for a while depending on how many files are to be uploaded to the backup.

- After a while, the program will say Upload complete! This means that all files are uploaded and everything is working properly. The program will now automatically upload files that change under the folders you previously selected.

